A well-groomed set of nails can instantly elevate your style and boost your confidence. While a professional manicure is a luxurious treat, sometimes circumstances may prevent us from visiting a salon. Luckily, with a little practice and the right tools, you can achieve a salon-quality manicure right in the comfort of your own home. In this step-by-step guide, we will walk you through the process of a DIY manicure, ensuring your nails look flawless and beautiful.
Doing a manicure is not just about beauty, it’s also about hygiene. Clean nails are essential for maintaining good hygiene. Throughout the day, our hands come into contact with various surfaces, objects and potentially harmful bacteria. By keeping your nails clean, you reduce the risk of transferring dirt, germs, and bacteria to your nails and potentially to other parts of your body, such as your face or mouth.

How to do a manicure at home?
Step 1: Gather Your Supplies
Before you start your at-home manicure, it is essential to gather all the necessary tools and products. Here’s a list of items you will need:
1. Nail polish remover
2. Cotton balls or pads
3. Nail clipper
4. Nail file
5. Cuticle pusher
6. Cuticle oil
7. Hand scrub or exfoliant
8. Moisturizing hand cream
9. Base coat
10. Nail polish of your choice
11. Top coat
12. Nail polish corrector pen (optional)
Step 2: Remove Old Nail Polish
Start by removing any existing nail polish using a nail polish remover and cotton balls or pads. Choose an acetone-based remover for stubborn or glittery polishes, and non-acetone removers for regular polishes. Gently swipe the remover-soaked cotton over each nail until it is completely clean.

Step 3: Shape and Trim Your Nails
Next, trim your nails to your desired length using a nail clipper. Aim for a shape that complements the natural shape of your nail bed. Then, use a nail file to gently shape the edges of your nails, smoothing out any roughness. Avoid using a back-and-forth sawing motion with the file, as it can weaken your nails instead of giving you strong and healthy nails.
Step 4: Pamper Your Hands and Cuticles
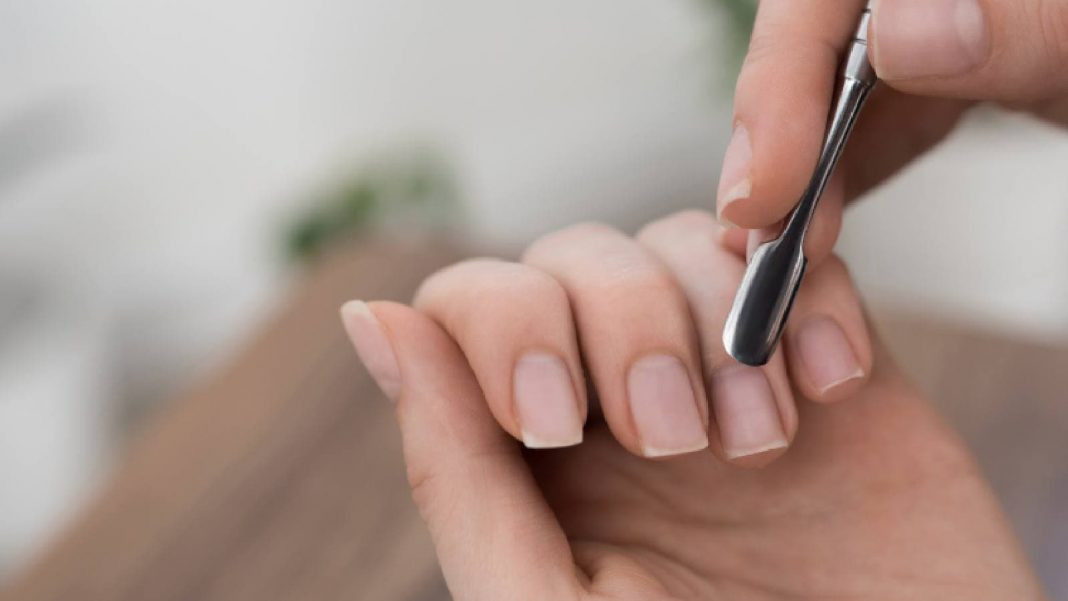
Fill a small bowl with warm water and add a few drops of mild hand soap or a hand scrub. Soak your hands for a few minutes to soften the cuticles. Then, use a cuticle pusher to gently push back the cuticles. Be careful not to cut or damage the cuticles, as they protect your nails from infections. Apply a few drops of cuticle oil and massage it into your nails and cuticles for added hydration and nourishment.
Also read: Are you guilty of chewing off those cuticles? You need to STOP!
Step 5: Exfoliate and Moisturize
To achieve smooth and soft hands, gently exfoliate them using a hand scrub or exfoliant. Rub it onto your hands in a circular motion, paying attention to dry or rough areas. Rinse thoroughly and pat dry. Follow up with a rich moisturizing hand cream, massaging it into your hands and cuticles for hydration.
Step 6: Apply Base Coat, Nail Polish, and Top Coat
Now it’s time to add colour to your nails if you want to. Start by applying a thin layer of base coat to protect your nails from staining and help the nail polish adhere better. Once the base coat is dry, apply two thin coats of your chosen nail polish color, allowing each coat to dry completely. Finish with a layer of top coat to seal in the color, add shine, and extend the wear of your manicure.
Step 7: Clean Up and Final Touches
If you’ve accidentally painted outside the nail bed, use a nail polish corrector pen or a small brush dipped in nail polish remover to clean up the edges. Ensure your nails are completely dry before engaging in any activities to prevent smudging or chipping.

See, achieving a salon-quality manicure at home is well within reach. Follow this step-by-step guide to pamper your nails and achieve flawless results. Remember to take your time, be patient, and enjoy the process. So go ahead, treat yourself to a DIY manicure at home, and let your nails shine!


